
In this day and age with the advancements in technology, there’s no good excuse for poor image quality. With smartphones and digital cameras, low resolution is a thing of the past. So, it’s always a shame when a project with scanned images is blurry or pixelated. But rest assured, I will show you the ropes and teach you the tricks of the trade to saying bye to blurry and pixelated scans forever.
Preparation
Before beginning to scan your photos, collect and clean all your materials. You can use a microfiber cloth to wipe away dust and dirt, but be sure to be gentle when handling photographs and old items. Then, clean the glass on your scanner and pay close attention to any dust or particles that may damage an image or scan.
Organize
Next, go through the photos you will be scanning and organize them. Label them clearly so that there is no confusion later on. Taking the time to organize in the early stages will make the entire process easier and more efficient. Use names, dates, and events for clarity and place the photos in folders accordingly. Once you have organized and labeled your photos, store them in a convenient and easily accessible place. You can create a file on your computer, or use online solutions like Dropbox or Google Drive. But regardless of how you choose to store your photos, make sure you store all of them in the same place. Otherwise, you are bound to lose them.
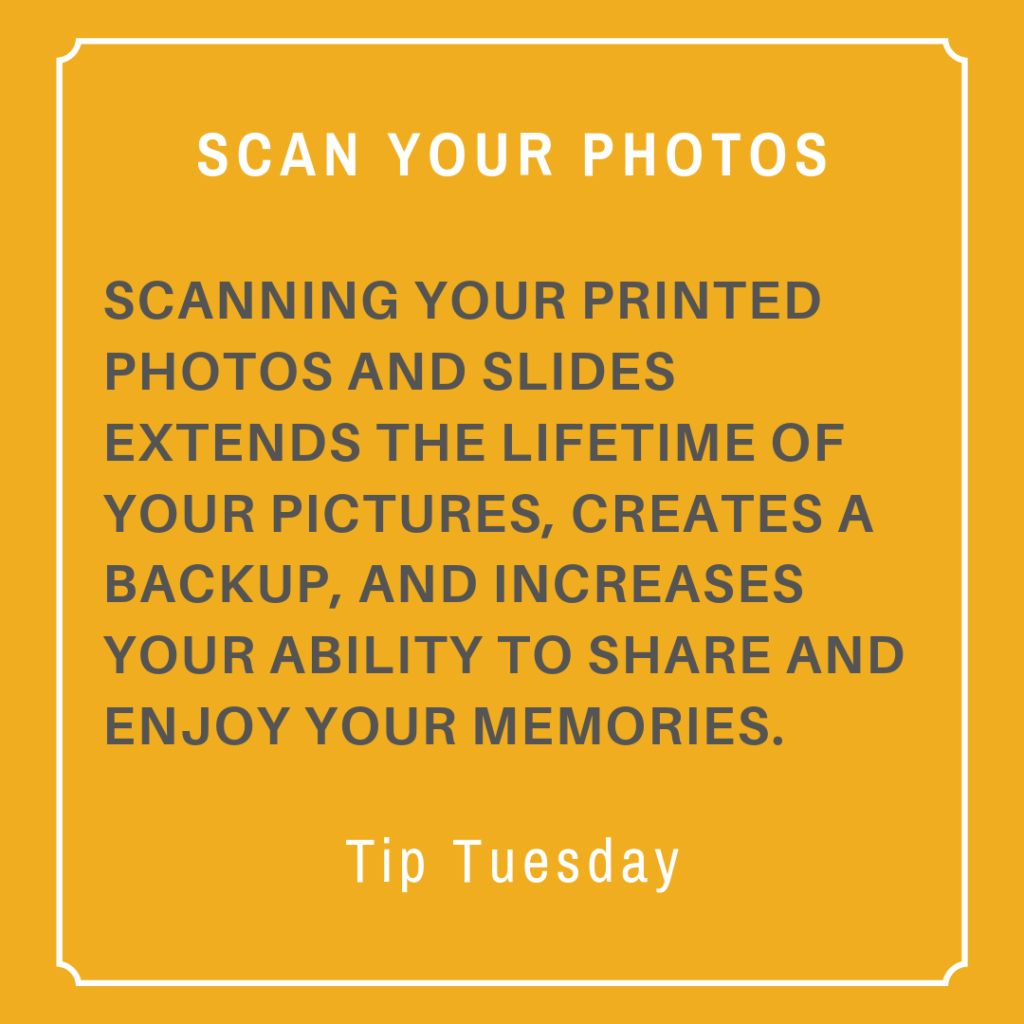
Scanning
Always run a few practice tests to make sure your scanner is functioning properly. Once you have confirmed that your machine is working well, you can get started and avoid having to start and stop throughout the process. There are two options when it comes to scanning photos. You can scan one at a time, or multiple. When scanning a single item, make sure you adjust the scan area to exclude the blank background. To isolate the photo from the background, use your scanner’s cropping tool. If you feel comfortable scanning, you can save some time by scanning multiple items at a time. Arrange your photos in an orderly fashion and make sure the edges are straight. If you don’t, cropping the scans afterwards will be more difficult. When it comes to the settings of your scanner, the only thing that you really have to pay attention to is the dots per inch (DPI). If you are not familiar with DPI, it is recommended to follow the professional printing standard, which is 300 DPI. Anything lower than that will cause your images to be blurry and pixelated, which is what we were trying to avoid in the first place!

Cathi Nelson, author of Photo Organizing Made Easy, is the founder of APPO (Association of Professional Photo Organizers), a membership organization dedicated to helping thousands of entrepreneurs from around the globe build successful photo preservation and organizing businesses.

No comments yet.